Step 3: Putting Everything in the Case
Start by opening up the case. There will be either be a set of screws on the back of your case or some sort or latch/handle to open it. Once opened, you will notice an area for the motherboard, drives, and power supply.
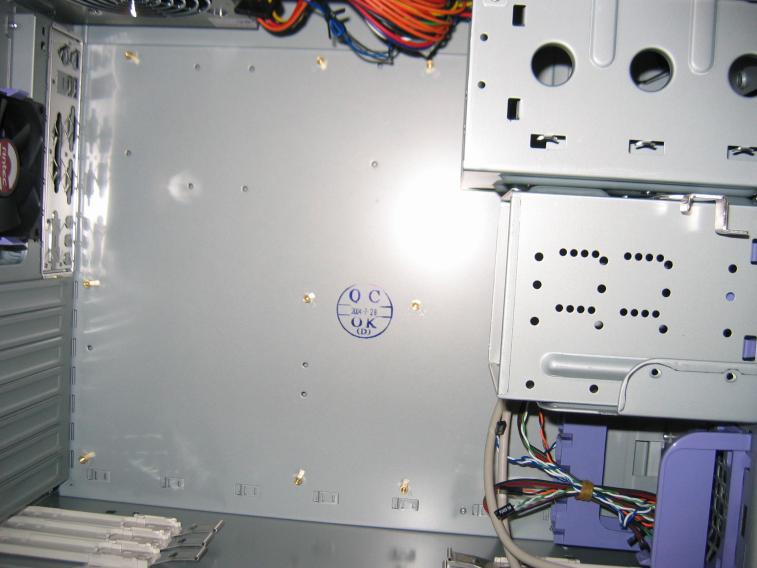
You next step is to put the motherboard in the case. Look at the area for the motherboard. You should notice a number of screwholes on the metal plate. Some of these hole will match up with the holes in your motherboard (usually outlined by metal trimming). You case should have come with some standoffs which are small, brass fittings for the screws that will secure your motherboard. Match your standoffs to the proper holes.
Before locking your board down, you will need to insert the port panel that came with it. It is a thin, metal piece that fits the ports on the back of your motherboard. There may be some port covers you will need to punch out. It usually pops into a rectangular socket on the back of your case. Push it from the inside of the case until you hear it snap into place.
Once everything is set up, line up your motherboard with your stand offs and port panel. Screw the board in starting with the top left corner then the bottom right.

Website designed and created by Antonio Baker, Justin Johnson, Ronald Scott, and Cindy Tripp.
Made for Dr. Magee's ENGL 303 class.