Step 4: Installing Your Hard Drives and Media Drives
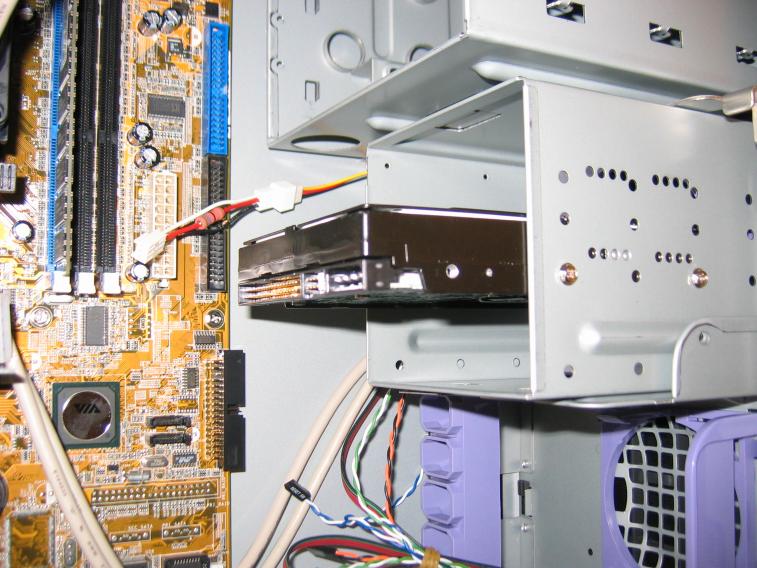
We will start by installing your hard drive. They generally go in the bottom right of the case.
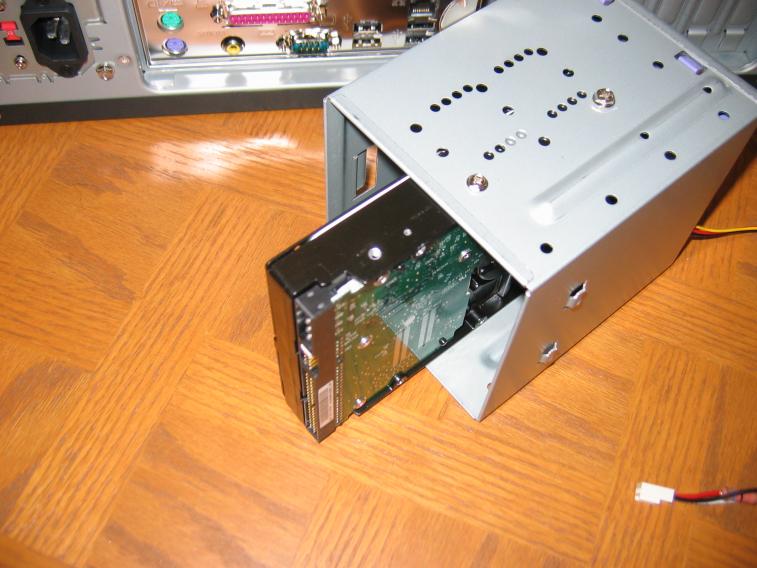
First, determine if you have a fixed bay or a drive cage. A fixed bay is just slot in your case to put your drive. A drive cage is a removable box that you will slip your drive into. If you have a drive cage, just remove it the way your case manual tells you to.
You will notice several screwholes on the side of your drive. Simply slip your drive into its bay and secure it using the accompanying screws. Securing it from one side is usually sufficient, but feel free to put them all in.

Next, we need to install the media drives. These are your optical drives or flash card readers. They are usually inserted in a similar fashion.
Remove the panel from whichever bay you want to insert your drive. Optical drives go in the big 5.25" bays while flash cards go in the 3.5" bay. Almost every case has a different method for doing this so you will certainly want to consult your manual to avoid damage. Once removed, slip your drive in from the back so it lines up with the front of your case and secure it the same way we did the hard drive.
Website designed and created by Antonio Baker, Justin Johnson, Ronald Scott, and Cindy Tripp.
Made for Dr. Magee's ENGL 303 class.